Ever wanted to create motion graphic videos programmatically? Whether you’re building automated content, data visualizations, or dynamic animations, this simple drag-and-drop tool lets you render React TSX components directly into high-quality MP4 videos using Remotion.
What is This?
A streamlined solution that eliminates the complexity of setting up Remotion projects. Just write your React component, drag it onto a batch file, and get an MP4. No manual configuration, no project scaffolding, no headaches.
Perfect for:
- 📊 Automated Motion Graphic Videos
- 📈 Data visualization animations
- 🎨 Programmatic motion graphics
- 🤖 AI-generated video content
- 📱 Social media content automation
Quick Start (5 Minutes)
Prerequisites
- Node.js (v16+) – Download here
- Windows (for drag-and-drop, or use command line on Mac/Linux)
Installation
- Create a new folder for your video renderer:
mkdir remotion-renderer
cd remotion-renderer
- Initialize npm (just hit Enter for all prompts):
npm init -y
- Install dependencies (this takes 1-2 minutes):
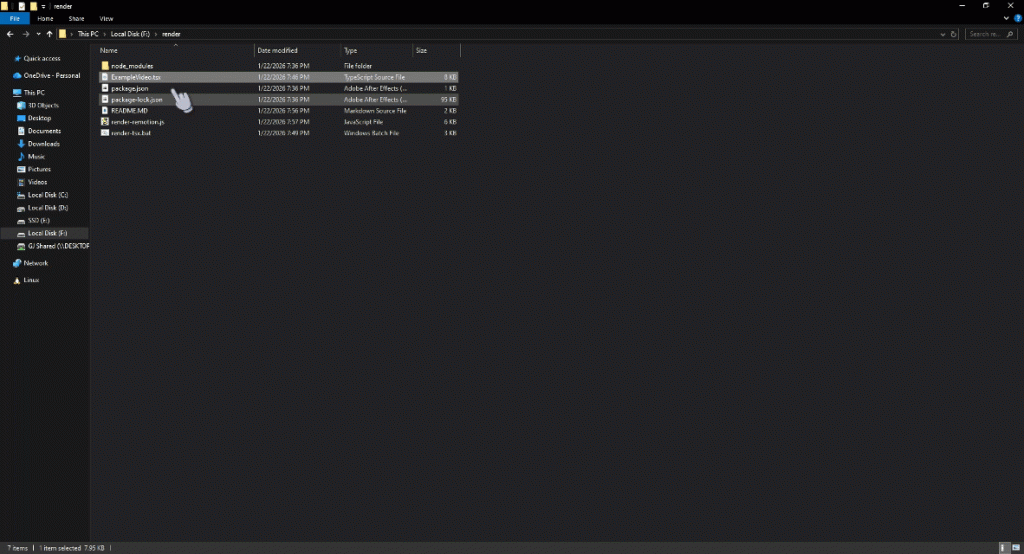
npm install @remotion/cli @remotion/bundler @remotion/renderer react react-dom remotionDownload the renderer files:
- render-remotion.js – The rendering engine
- render-tsx.bat – Windows drag and drop file
- ExampleVideo.tsx – Sample video component
Or you can get the zip here: remotion-renderer.zip
That’s It!
You’re ready to render videos. 🎉
How to Use
Method 1: Drag and Drop (Easiest)
- Create or edit your
.tsxvideo file - Drag the file onto
render-tsx.bat - Wait for rendering (progress shown in console)
- Your MP4 opens automatically in the output folder
Method 2: Command Line
node render-remotion.js YourVideo.tsx
Output goes to ./rendered-videos/YourVideo.mp4
Creating Your First Video
Use my custom gemini gem to create custom unique motion graphics for free!
click here.
Configuration & Customization
Video Quality
Edit the CONFIG section in render-remotion.js:
const CONFIG = {
  defaultOutputDir: './rendered-videos',
  codec: 'h264',
  crf: 18,  // Lower = better quality (18 = visually lossless)
  pixelFormat: 'yuv420p'
};
CRF Quality Guide:
- 18 – Visually lossless (large files) ← Default
- 23 – High quality (recommended for most use)
- 28 – Good quality (smaller files)
Default Video Settings
In your TSX file’s RemotionVideo export:
export const RemotionVideo = {
  durationInFrames: 300,  // Length in frames
  fps: 30,                // Frames per second
  width: 1920,            // Video width
  height: 1080,           // Video height
  id: 'MyVideo',          // Composition name
};
Troubleshooting
“Module not found” errors
npm install @remotion/cli @remotion/bundler @remotion/renderer react react-dom remotion
Rendering is slow
- Lower the resolution:
width: 1280, height: 720 - Reduce duration for testing:
durationInFrames: 60 - Increase CRF value:
crf: 28(lower quality, faster render)
Out of memory
node --max-old-space-size=4096 render-remotion.js YourVideo.tsx
What’s Happening Under the Hood?
- Entry Point Generation – Script automatically creates a temporary entry point with
registerRoot() - Webpack Bundling – Your TSX is bundled with all dependencies
- Frame-by-Frame Rendering – Each frame is rendered as an image
- Video Encoding – FFmpeg encodes frames into MP4 (H.264)
- Cleanup – Temporary files are removed
You don’t need to worry about any of this – it just works!
Download Files
Get started with these three files:
- render-remotion.js – Main rendering script
- render-tsx.bat – Drag-and-drop launcher
- ExampleVideo.tsx – Sample video component
Or download all as a ZIP: remotion-renderer.zip
Use Cases & Ideas
- Motion Graphics For Content Creators: Automated Typography, motion graphics.
- Data Viz: Animated charts, infographics, dashboards
- Social Media: Automated quote cards, news updates
- Education: Explainer videos, tutorials, code demonstrations
- Marketing: Product showcases, testimonial videos
- Personal: Photo slideshows, birthday cards, invitations
Learn More
License
This renderer script is free to use. Note that Remotion itself requires a license for commercial use – check Remotion’s licensing for details.
Happy rendering! 🎬✨

![Protected: Suno AI Prompting [Meta Tags] Cheat Sheet](https://aicontroversy.com/wp-content/uploads/2024/04/suno-prompting-400x250.webp)